BUILDING THE NAUTILUS MINISUB
Pat
discloses how the HYPERSUB project became the NAUTILUS MINISUB.
One night while
I was doing a rough sketch of a crash-bar to protect the front view ports, I
visualized the HYPERSUB running fast awash, and the image of Captain Nemo’s
NAUTILUS on the attack came to mind. I
did the math and realized it might just be possible to build a steel NAUTILUS
replica outer hull around the HYPERSUB pressure hull, if that outer hull also
served as the boat’s ballast tanks.
Because 20,000
LEAGUES had been the movie that sparked my interest in underwater technologies
as a young boy; and because there had never been an actual manned submarine of
Disney NAUTILUS configuration in any scale; and to disprove those who said the
configuration was unfeasible: the project seemed worthwhile. And from that moment on the HYPERSUB project
became the NAUTILUS MINISUB.

We immediately
went looking for images of the Disney NAUTILUS to work from. At the time, they were pretty hard to
find. So we rented the video and took
pictures of the screen with a 35mm camera.
Lynn got the
local librarian to do a search for us, which only turned up one very faded
Xerox copy of Harry Hathorne’s article about the filming of LEAGUES in a 1984
issue of CINEFANTASTIQUE Magazine. In
those pages was a small copy of the original plans drawn by the Disney Art
Department, from which the 11-foot special effects model NAUTILUS was made for
the movie. The quality of our copy was
very poor, but we enlarged it and that became our working plans from which all
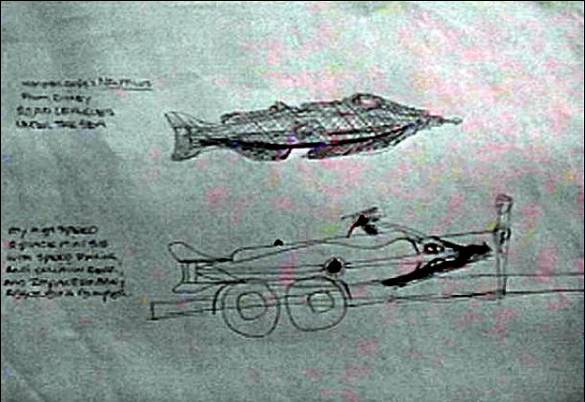
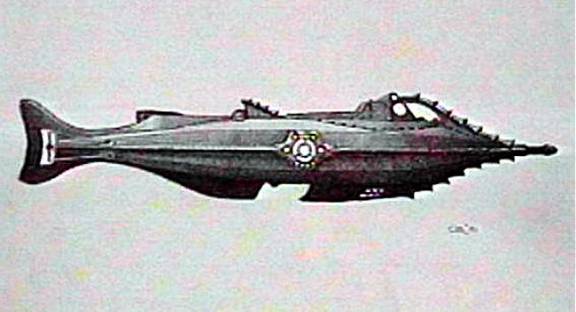
further templates were made. The
improved NAUTILUS sketch (above) was made using those plans as a basis.
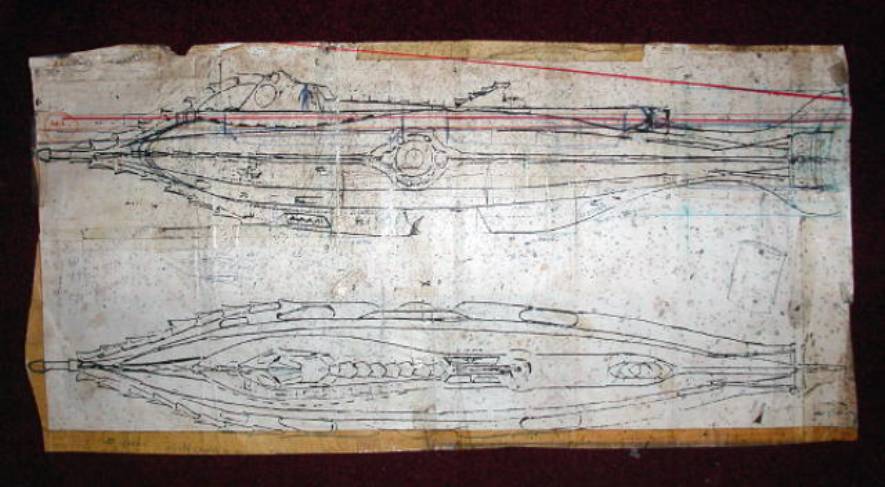
These are the
actual working plans from which the NAUTILUS MINISUB was made. I took the small CINEFANTASTIQUE image to a copying
shop and enlarged them so the sub was a little more than two feet long. Then the process involved taking
measurements from the drawing, and scaling-up mathematically. For complex shapes like the raker arch,
dorsal fin, tail fins, and keels, I transferred numerous measurements to
large-scale, hand-drawn graph paper, and played “connect the dots”. Details like the raming spur and skiff were
missing from the Xerox copy of the CINEFANTASTIQUE magazine image, so I had to
estimate those and draw them in myself.
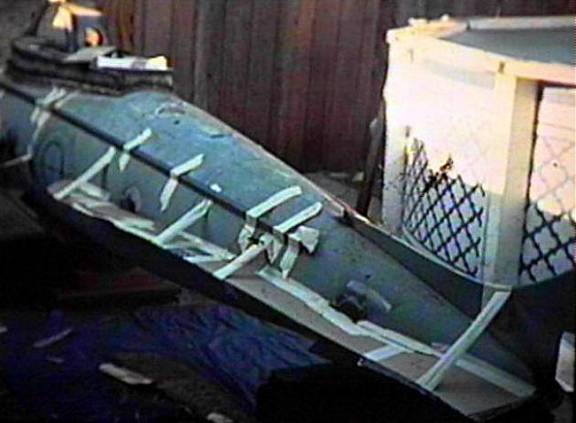
From the
working plans I was able to calculate the size of various parts of the
submarine. Then, I made full sized
cardboard templates of each part, and checked them for fit on the pressure
hull. Above is a picture of the
cardboard template for the port-side aft horizontal stabilizing fin, taped in
place.
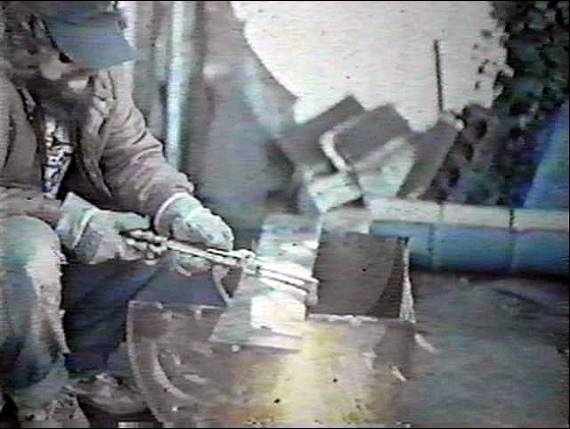
After the shape
of the cardboard template was transferred to steel with an electric engraving
tool, I used an oxy-acetylene torch to cut the part out, and then ground it to
shape with an electric grinder.
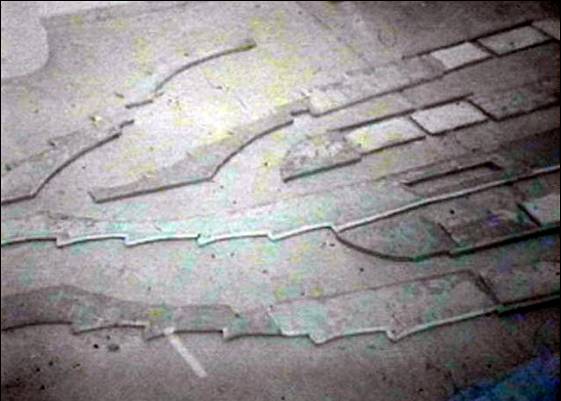
Here are some of the basic parts, after cutting and grinding,
laid out on the work area floor.

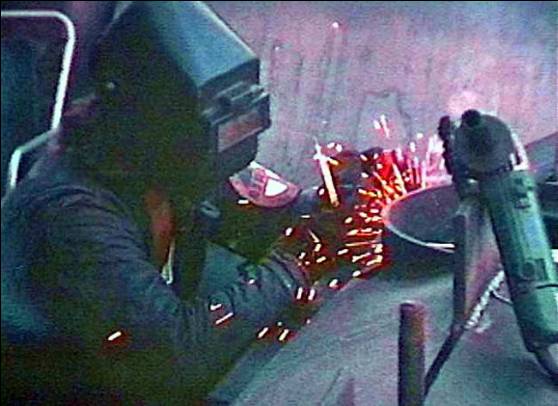
The “Mad Submarine Builder” using the torch while making a hull
modification.

This roller-cradle
was made from the wheels of a shopping cart, and enabled me to rotate the hull
to various angles to facilitate work on the undersides.

I worked
basically alone, outdoors, in all kinds of weather. But when the rains got too bad I’d take some jobs inside. In this picture, I’m inside the small shed
in our backyard, welding in reinforcements to the cabin structure.
Outside in the
yard again. With the sub rolled to one
side on the cradle, I’m welding the exterior hull plates around the salon
window.

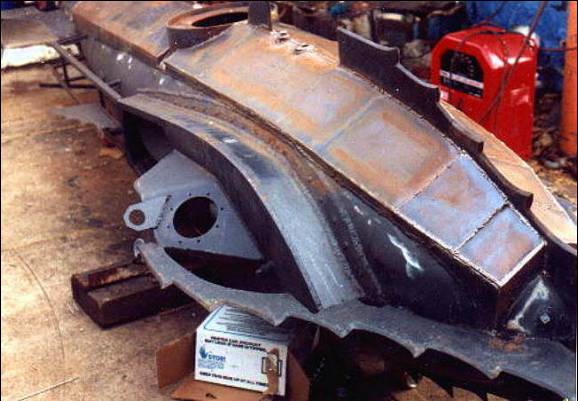
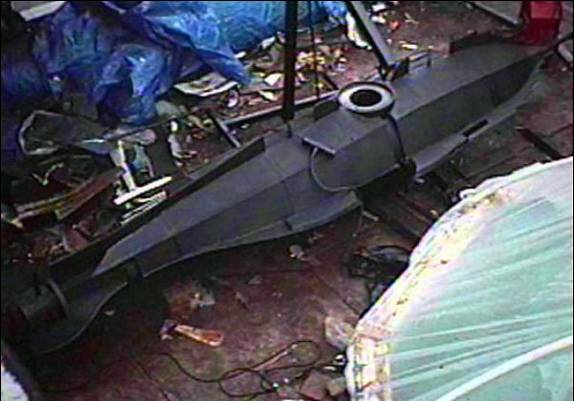
Sitting upright
with much of the hull plating in place, the HYPERSUB pressure hull is beginning
to look more and more like the NAUTILUS every day.

Welding the aft ballast tank plates together on a very hot day.
Here, the
submarine is rolled to Starboard to facilitate work on the bottom of the
hull. At this point the exterior hull /
ballast tanks are just about finished.
With the final
part of the keel installed, and because of the submarine’s weight at this point
in the construction process, the roller cradle was no longer of any use, so I
used a “cherry picker” engine hoist to lift the sub and set it down on blocks
for the next phase of work.

What’s it like
to make a homebuilt submarine? A lot of
hard, heavy, hot, dirty work. On a
Summer day, operating a torch, arc welder, and grinder inside a steel pressure
hull is anything but fun. On the day
this picture was taken, it was over 105 degrees inside the sub. Filthy dirty and drenched with sweat, I had
time for a cold Coke while standing in the hatch, and then back inside. It went on for more than two years: I woke
up with a worklist, lived with the project, and fell asleep figuring out what
needed to be done the next day. Maybe
that explains why so many talk about building subs, but so few actually do
it. It’s hard work.
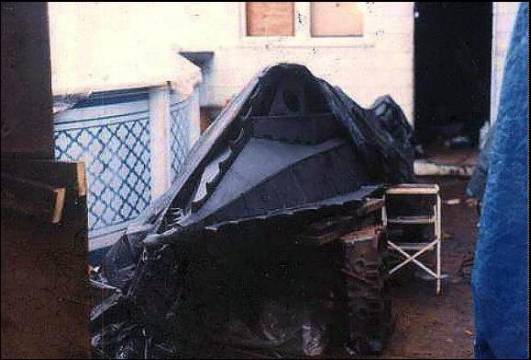
A cold, rainy
day in early 1991. Here’s the sub on
blocks, under a tarp that protected it from the rain. At this point the exterior metalwork was finished to a test-ready
condition.
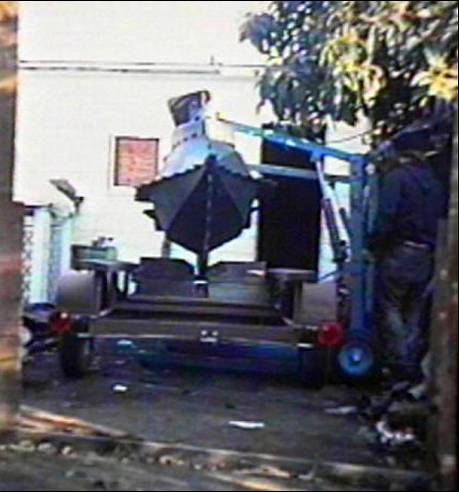
I sawed a hole
in the plywood enclosure surrounding our working area, lifted the submarine
with a pair of engine hoists, rolled the launching trailer underneath, and
lowered the NAUTILUS down onto it.
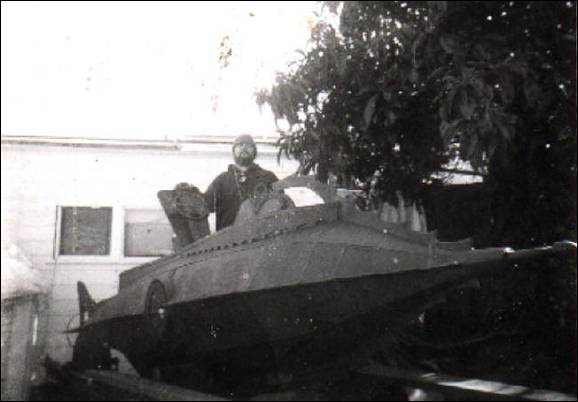
This is a very
poor quality B&W Polaroid picture (the only camera we had at the time) of a
very significant moment. At this point
I had gotten to the end of a two-and-one-half year-long work list, and had just
successfully operated all internal systems for the first time. Everything was up and running
correctly. The next item on the list
said, “Proceed to Float Test #1”.
People told me I couldn’t do it; and there were times along the way when
I never thought I’d ever see this day arrive, but I was finally there:
exhausted, multiple injuries, but very happy.

Here’s a picture that was actually
taken at a later date (after the fourth float test) but it shows the interior
pilot’s compartment, controls, and instruments that I’d just tested. This is what I had to work with when I did
the proving tests.
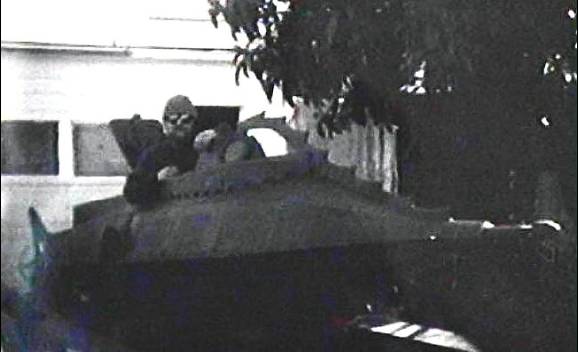
March 1991: “Captain Nemo” and the NAUTILUS: All Systems GO!