REFURBISHING THE NAUTILUS MINISUB
~PAGE ONE~
In 2001, after the worst
rain storm in 20 years, and facing a deadline to prepare the NAUTILUS MINISUB
for a DISCOVERY CHANNEL program about 20,000 LEAGUES, I am faced with
the task of getting the submarine rebuilt and finish the scale exterior
detailing. And the producers want it
yesterday….

The
scratch-built trolley and heavy-duty roller cradle I made for the job.

Here I have test-fit
my steel roller track to the submarine.
The track will turn over the roller cradle wheels, enabling me to rotate
the submarine upside down when I need to work on the underside. (The track was necessary because the fins
and keel would keep the sub from turning on a simple roller cradle.)
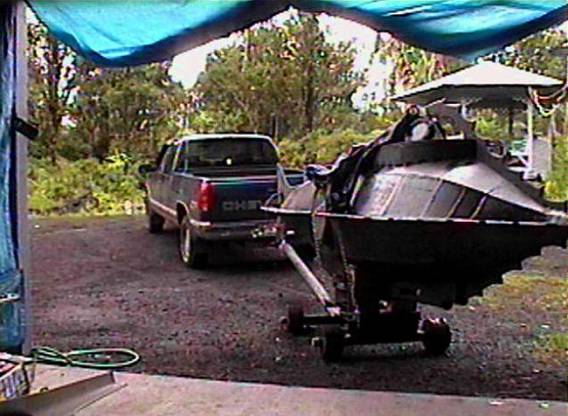
After removing the
roller track, I lifted the submarine off the trailer with a pair of hoists; mounted it on the special trolley
I’d built; and maneuvered it into the shop with my truck. (As you can see, VULCANIA is in the midst of
a beautiful forest. What looks like
soil is actually volcanic cinder: common in these parts.)
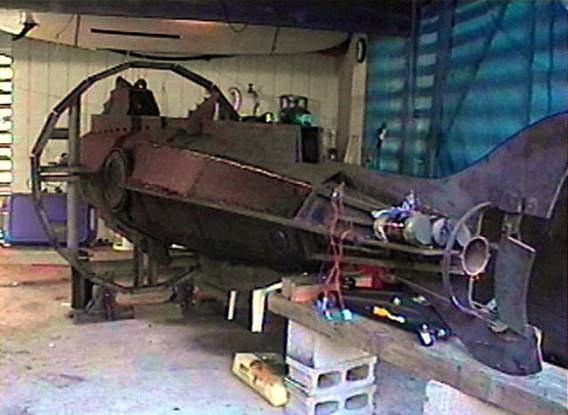
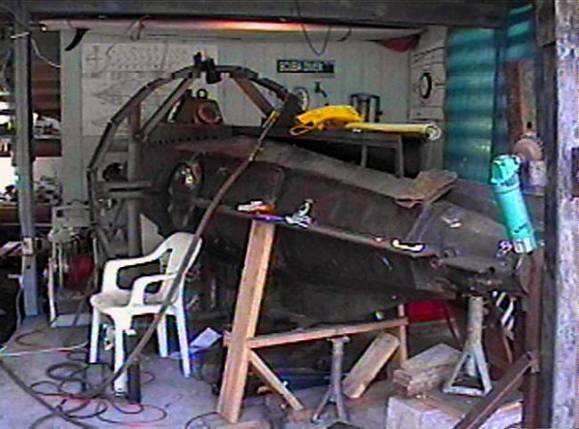
Here’s
the submarine in the shop, mounted on the reinforced roller cradle.
Modifying
the tail section to receive a larger, more powerful propulsion system.

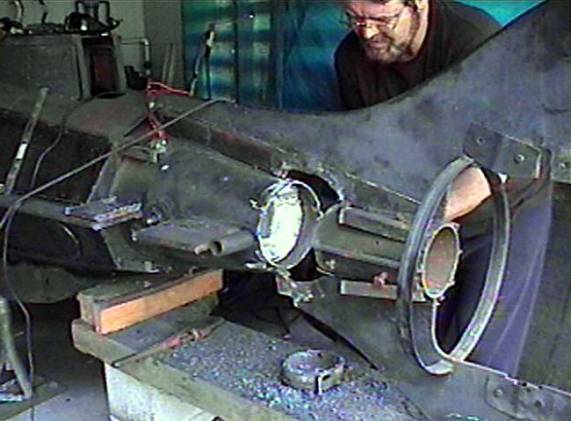
Inside
the tailcone: torching out the tack welds holding the floor plates in place.
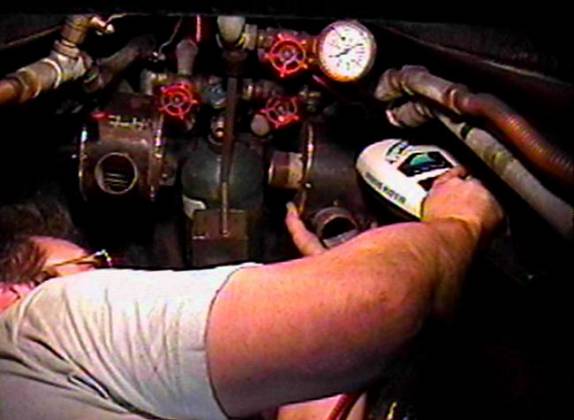
In
the pilot’s compartment: checking the fit of new life support blowers and the new
motor potentiometer.
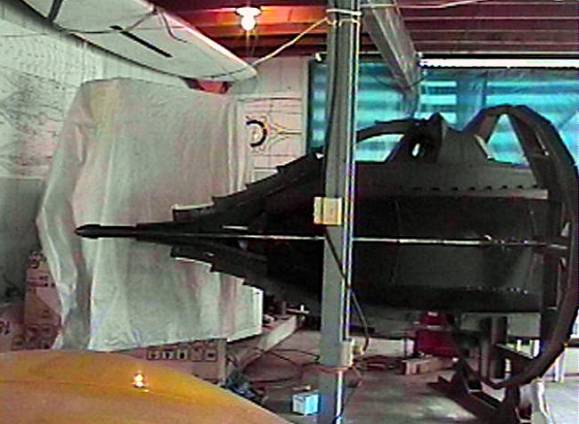
An
in-process shot of the sub in the shop, while adding an external emergency
cabin pressurization valve.
First
step in improving the rakers: tracing the outline of the old ones onto
cardpaper.

A
cardboard template for the tailfin extension.
(The original fins were a little too small.)
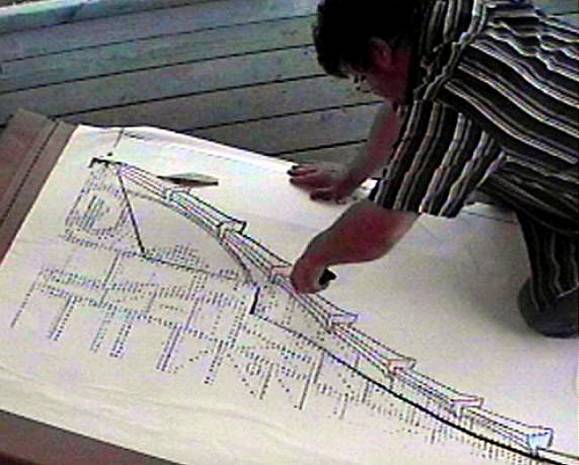
Cutting a cardboard
template for the new raker arch. The
plans were provided by William Babington, and are his accurized drawings based on
measurements taken from Disney’s real 11-foot special effects model of the
NAUTILUS, as seen in the movie. I had
them enlarged to the proper size for my submarine, mounted them on cardboard,
and cut them out with an X-acto knife.
.
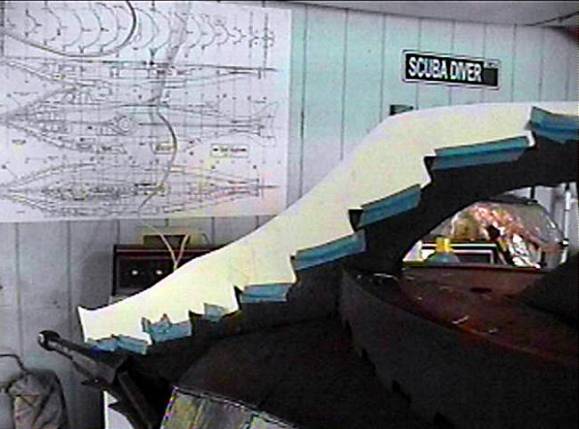
Here
I have the raker templates positioned on the submarine to check the fit.
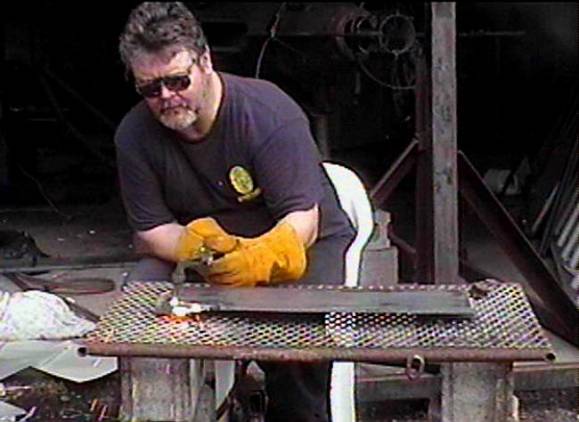
After the new raker
outlines are transferred to steel with an electric engraving tool, I cut the
parts out with an oxy-acetylene torch,
and did the close shaping with electric grinders.

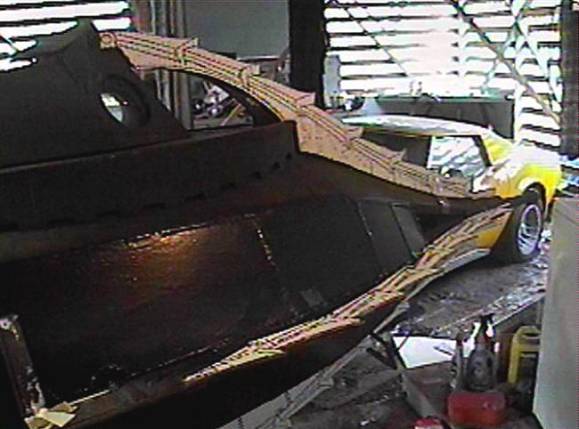
The
new rakers tack-welded into position prior to final alignment and welding.
Working
on the rakers and new ramming spur.
The wheelhouse cover
with a few of the estimated 14,000 simulated rivets that will eventually cover the
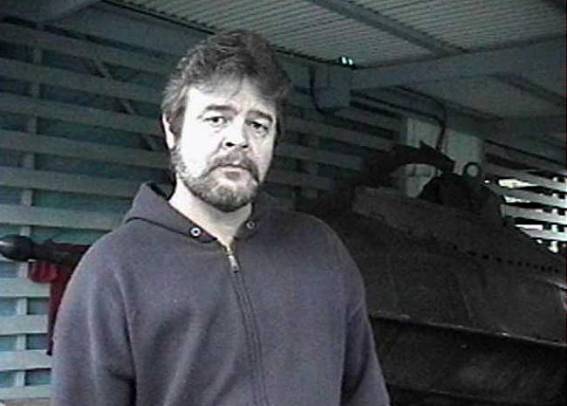
entire hull. No wonder my beard’s
turning gray!
(For
a continuation of this project, see REFURBISHING
THE NAUTILUS MINISUB PAGE TWO.)